Canon 5D Mark III Manual: A Comprehensive Guide
This guide offers detailed instructions, troubleshooting, and resources for mastering the Canon EOS 5D Mark III,
from basic operation to advanced photographic techniques.

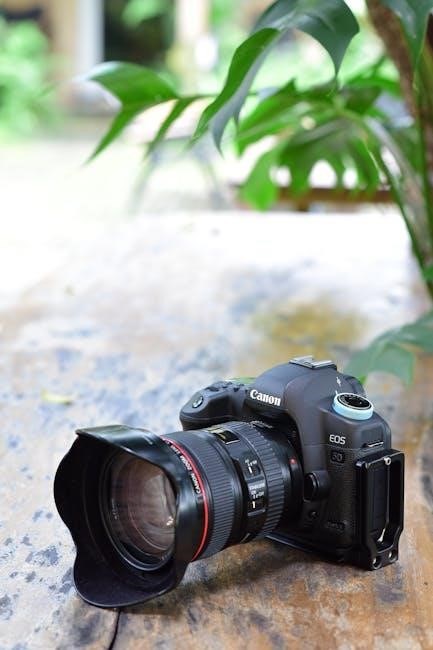
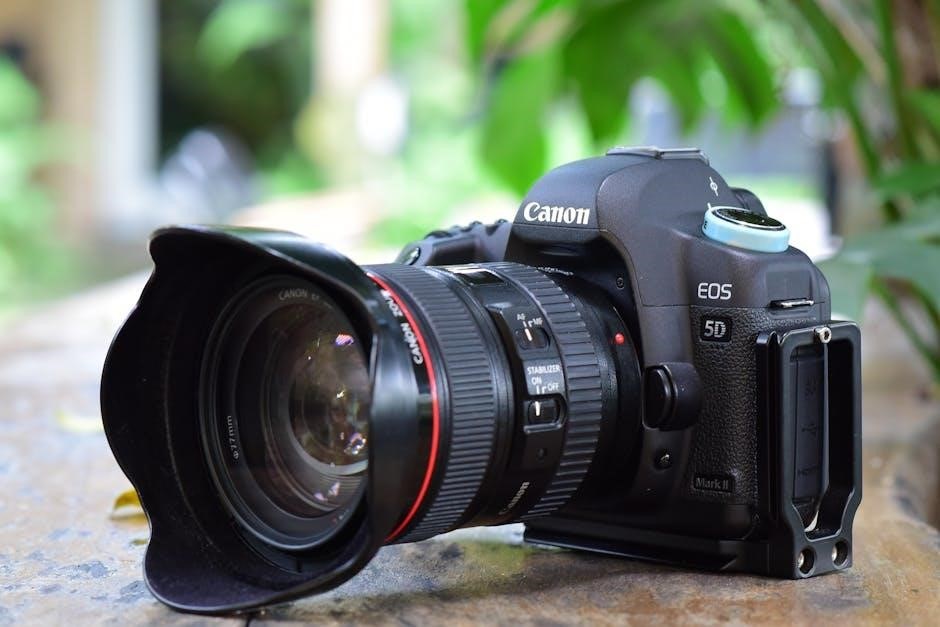
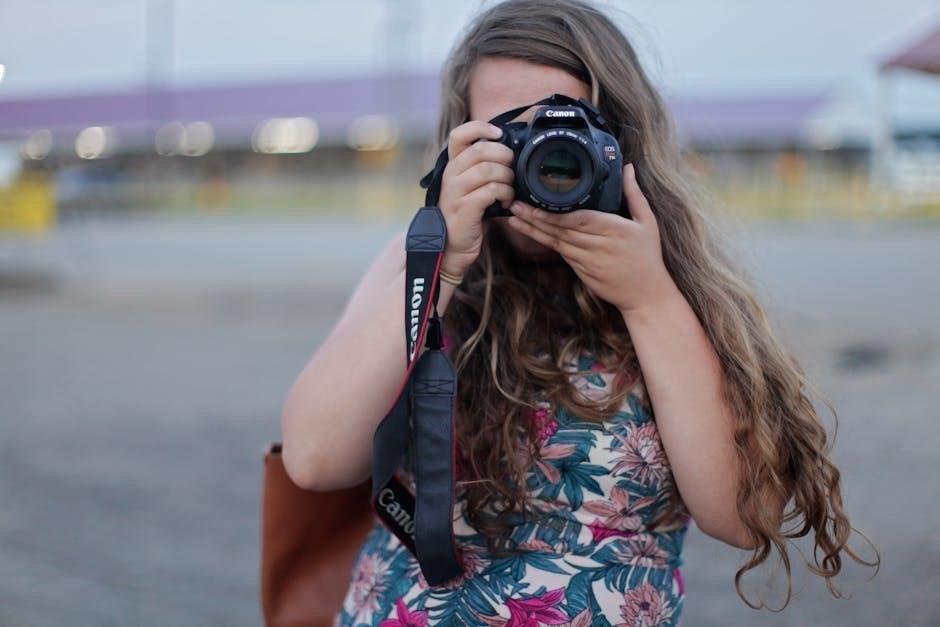
The Canon EOS 5D Mark III is a professional-grade full-frame DSLR renowned for its exceptional image quality, robust build, and versatile features. This camera empowers photographers to capture stunning stills and high-definition videos. Whether you’re a seasoned professional or an enthusiastic amateur, understanding its capabilities is key to unlocking its full potential.
This manual serves as a comprehensive resource, guiding you through every aspect of the camera, from initial setup to advanced shooting techniques. Resources like the “Canon EOS 5D Mark III Digital Field Guide” and the “Canon 5D Mark III Experience” ebook will prove invaluable; You’ll find detailed explanations, practical examples, and troubleshooting tips to help you master this powerful tool. Don’t forget to explore Canon’s official support website for drivers, firmware, and further assistance.
Understanding the Camera’s Key Features
The Canon 5D Mark III boasts a 22.3MP full-frame CMOS sensor, delivering exceptional detail and low-light performance. Its 61-point High-Density Reticular AF system ensures accurate and reliable autofocus, even with fast-moving subjects, as demonstrated by utilizing AF-point expansion. The camera supports Full HD video recording, offering creative possibilities for filmmakers.
Key features include dual DIGIC 5+ Image Processors for fast processing speeds, a 3.2-inch Clear View LCD screen for clear image review, and a robust magnesium alloy body for durability. Accessing the original instruction manual or a fully printed user guide is crucial for understanding these features. Regular firmware updates, available on Canon’s support website, enhance performance and add new functionalities.
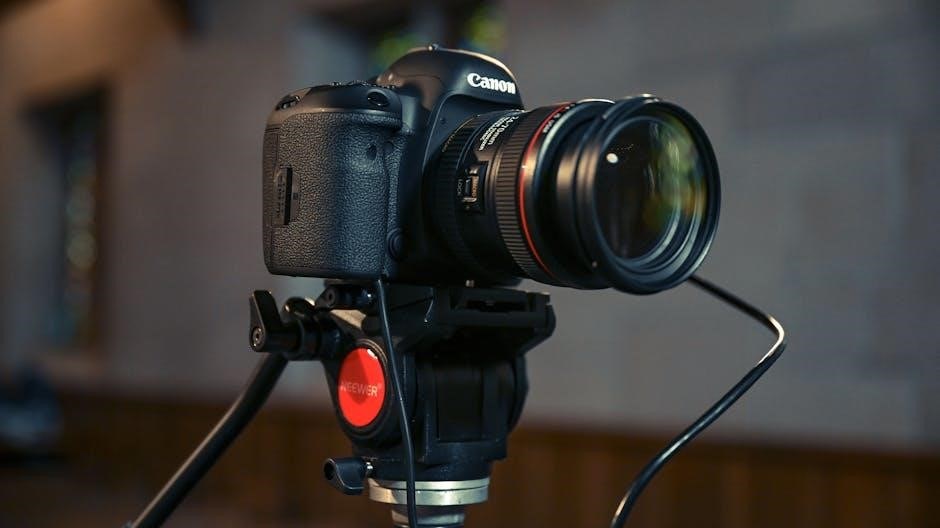
Physical Components and Controls
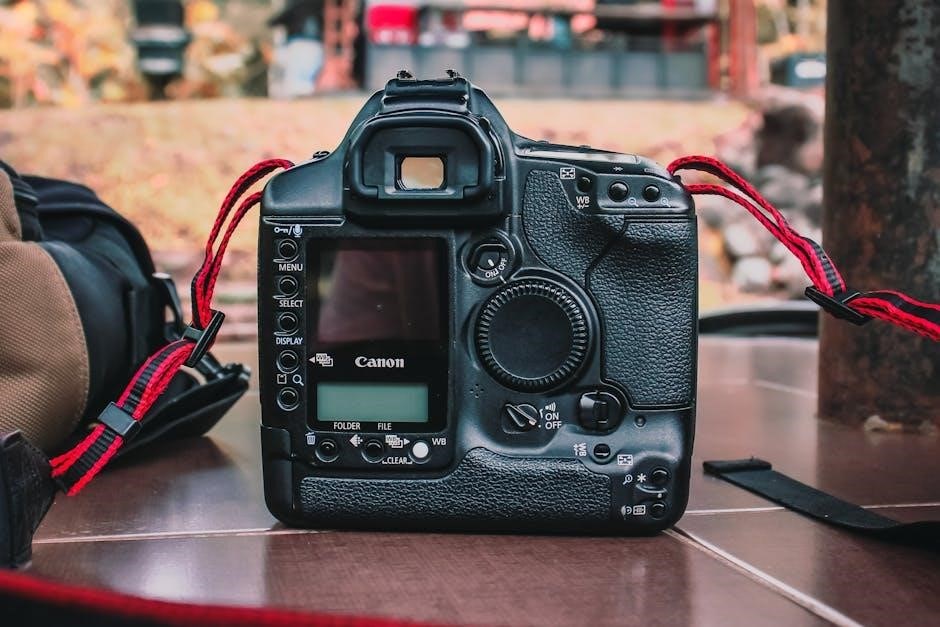
The Canon 5D Mark III features a logically arranged control layout. The top panel houses the power switch, main dial, shutter button, and quick control dial, enabling swift adjustments to settings. On the rear, you’ll find the LCD screen, directional buttons, and a dedicated AF-point selection joystick.
Essential components include the memory card slots (CompactFlash and SD), the microphone and headphone jacks for audio control during video recording, and various ports for connectivity. A comprehensive, printed A5 instruction manual aids in familiarizing yourself with each control’s function. Understanding the physical layout is fundamental to efficient operation, as highlighted in user guides and tutorials.
Menu System Navigation
The Canon 5D Mark III’s menu system is organized into several tabs: Shooting, AF, Exposure, Quality, Picture Style, and more. Navigating this system utilizes the directional buttons and SET button on the camera’s rear. Each tab contains numerous settings, allowing for extensive customization of the camera’s behavior.
Understanding the hierarchical structure is key to efficiently locating specific options. User guides, including the original instruction manual and the “Canon 5D Mark III Experience” ebook, provide detailed explanations of each menu item. Downloading the latest firmware updates from Canon’s support website ensures optimal menu functionality and performance.
Setting Up the Camera
Initial setup involves inserting a compatible memory card and a charged battery. The Canon 5D Mark III will prompt you to select language, date, and time upon first power-on. It’s crucial to format the memory card within the camera to ensure compatibility and optimal performance;
Referencing a printed or digital user manual, like the “Canon EOS 5D Mark III Digital Field Guide”, is highly recommended during this process. Ensure the camera is held securely and avoid pressing buttons excessively during initial configuration. Proper setup lays the foundation for a smooth and productive shooting experience.
Initial Camera Settings Configuration
Begin by setting the image quality to RAW for maximum editing flexibility, though JPEG is suitable for immediate use. Configure the date and time accurately, as this data is embedded in your photos. Select your preferred shooting style – Standard, Portrait, Landscape, or User Defined – as a starting point.
The “Canon 5D Mark III Experience” ebook suggests exploring custom functions early on. Pay attention to the autofocus settings, initially accepting the defaults, but preparing to customize them later. Downloading the latest firmware from Canon’s support website ensures optimal performance and compatibility.
Customizing Buttons and Dials
The Canon 5D Mark III allows extensive customization of buttons and dials, tailoring the camera to your shooting style. Through the Custom Functions menu, you can reassign buttons to control frequently used settings like ISO, white balance, or autofocus modes. Dials can be adjusted for quicker access to aperture, shutter speed, or exposure compensation.
Consider assigning AF-point expansion to a readily accessible button, as highlighted in the “Digital Field Guide”. This streamlines wildlife or action photography. A printed manual, like the A5 instruction guide available on eBay, can be invaluable while learning these customizations. Experiment to find what works best for you!
Shooting Modes Explained
The Canon 5D Mark III offers a versatile range of shooting modes to suit various photographic scenarios. Program (P) mode provides automatic settings with user control over ISO and white balance. Aperture Priority (Av) lets you set the aperture for depth of field, while the camera determines shutter speed. Shutter Priority (Tv) prioritizes shutter speed for motion control.
Manual (M) mode grants full control over both aperture and shutter speed. Understanding these modes, as detailed in the “Canon 5D Mark III Experience” ebook, is crucial. Refer to your original instruction manual for a comprehensive overview of each mode’s functionality and optimal usage.
Aperture Priority (Av) Mode
Aperture Priority (Av) mode on the Canon 5D Mark III empowers photographers to control depth of field. You select the desired aperture (f-stop), influencing how much of the image is in focus. The camera automatically calculates the appropriate shutter speed for correct exposure.
Lower f-numbers (e;g., f/2.8) create shallow depth of field, ideal for portraits with blurred backgrounds. Higher f-numbers (e.g., f/16) yield greater depth of field, suitable for landscapes. As highlighted in user guides, mastering Av mode requires understanding the relationship between aperture, shutter speed, and ISO. The “Canon EOS 5D Mark III Digital Field Guide” provides practical examples.
Shutter Priority (Tv) Mode
Shutter Priority (Tv) mode on the Canon 5D Mark III allows photographers to dictate the shutter speed, controlling motion blur and freezing action. The camera then automatically adjusts the aperture to achieve proper exposure. Faster shutter speeds (e.g., 1/1000s) freeze fast-moving subjects, while slower speeds (e.g., 1/30s) create motion blur.
This mode is invaluable for sports or wildlife photography. User manuals emphasize the importance of balancing shutter speed with ISO to avoid underexposure in low light. Resources like the “Canon 5D Mark III Experience” ebook detail how to effectively utilize Tv mode for various shooting scenarios, ensuring sharp or intentionally blurred results.
Manual (M) Mode
Manual (M) mode grants the photographer complete control over both aperture and shutter speed on the Canon 5D Mark III. This mode requires a thorough understanding of the exposure triangle – aperture, shutter speed, and ISO – to achieve desired results. It’s ideal for situations demanding precise exposure control, like studio photography or challenging lighting conditions.
User guides, including the original instruction manual, highlight the use of the camera’s metering system as a starting point. The “Canon 5D Mark III Experience” ebook further explains how to master manual mode, emphasizing the importance of reviewing the histogram to ensure proper exposure and avoid clipping highlights or shadows.

Program (P) Mode
Program (P) mode on the Canon 5D Mark III offers a balance between automatic and manual control. The camera sets both aperture and shutter speed, but allows the photographer to adjust ISO, white balance, and exposure compensation. This mode is excellent for versatile shooting situations where quick adjustments are needed without full manual control.
Various resources, like the “Canon EOS 5D Mark III Digital Field Guide,” explain how Program mode can be shifted to prioritize either shutter speed or aperture, effectively mimicking Tv or Av modes. The full user manual details how to utilize Program mode effectively, offering a convenient starting point for many photographic scenarios.
Autofocus System Deep Dive
The Canon 5D Mark III boasts a sophisticated 61-point autofocus system, crucial for capturing sharp images. Understanding its intricacies is key to maximizing performance. This system utilizes various AF area selection modes, allowing photographers to tailor focus to specific subjects and scenarios.
Resources like Charlotte Lowrie’s “Canon EOS 5D Mark III Digital Field Guide” highlight the importance of AF point expansion for tracking moving subjects. The manual details the differences between One-Shot AF (for static subjects) and AI Servo AF (for continuous tracking), enabling precise control over focus behavior. Mastering these settings unlocks the camera’s full potential.
AF Area Selection Modes
The Canon 5D Mark III offers a range of AF Area Selection Modes to suit diverse shooting situations. These include Single-point AF for precise focus on a stationary subject, and AF point expansion, as detailed in Lowrie’s field guide, which adds surrounding points for tracking. Zone AF utilizes a block of points, ideal for subjects within a defined area.
Large Zone AF and Automatic Selection of AF points provide broader coverage, while manual selection grants complete control. Understanding each mode’s strengths allows photographers to optimize autofocus performance. The official Canon support resources and printed manuals further clarify these options, ensuring accurate and reliable focusing.
AF Point Expansion Explained
AF Point Expansion, a valuable feature of the Canon 5D Mark III, enhances tracking capabilities. As highlighted by Charlotte Lowrie’s guide, this mode surrounds your initially selected AF point with additional points. These surrounding points activate when the primary point loses track of the subject, aiding in continuous autofocus during movement.
This function is particularly useful for photographing erratic or fast-moving subjects. Users can customize the expansion area’s size, tailoring it to the specific shooting scenario. Canon’s official documentation details the settings and provides guidance on optimizing this feature for improved subject acquisition and tracking accuracy.
One-Shot vs. AI Servo AF
Understanding the difference between One-Shot and AI Servo autofocus modes is crucial for capturing sharp images with the Canon 5D Mark III. One-Shot AF is ideal for stationary subjects; it locks focus when the shutter button is half-pressed. AI Servo, conversely, is designed for tracking moving subjects.
AI Servo continuously adjusts focus as the subject moves, maintaining sharpness throughout the shot. Selecting the correct mode depends entirely on the subject’s behavior. Utilizing AF Point Expansion alongside AI Servo, as suggested in field guides, further enhances tracking performance, ensuring consistently focused results even with unpredictable movement.
Exposure Control and Metering
Mastering exposure is fundamental to photography, and the Canon 5D Mark III offers robust control. Understanding exposure compensation allows you to fine-tune brightness, overriding the camera’s automatic settings. The 5D Mark III provides several metering modes – Evaluative, Partial, Spot, and Center-weighted Average – each assessing light differently.
Evaluative metering is generally reliable for diverse scenes. Partial and Spot metering focus on smaller areas, useful for challenging lighting. Exposure, as demonstrated in example shots, can be adjusted using stops; a -1/3 stop can subtly refine image brightness. Choosing the appropriate metering mode and utilizing exposure compensation ensures properly exposed photographs.
Understanding Exposure Compensation
Exposure compensation is a crucial tool for photographers using the Canon 5D Mark III. It allows you to override the camera’s automatically determined exposure, brightening or darkening images as needed. This is particularly useful in situations with tricky lighting, like bright snow or dark subjects.
The scale is typically measured in stops (+/- EV), with positive values increasing brightness and negative values decreasing it. As seen in example photography, a -1/3-stop adjustment can subtly refine exposure. Mastering exposure compensation ensures your images accurately reflect your artistic vision, preventing over or underexposure.
Metering Modes: Evaluative, Partial, Spot, Center-weighted Average
The Canon 5D Mark III offers several metering modes to analyze scene brightness. Evaluative metering, the default, assesses the entire scene for balanced exposure. Partial metering focuses on approximately 6.5% of the frame, useful for backlit subjects. Spot metering measures an even smaller 2.8% area, ideal for precise readings on specific points.
Center-weighted average metering prioritizes the center of the frame while considering the entire scene. Choosing the correct mode depends on the shooting situation. Understanding these modes allows photographers to achieve accurate exposures and maintain creative control over their images.
Image Quality and File Formats
The Canon 5D Mark III allows selection between RAW and JPEG file formats. RAW captures all image data, offering maximum editing flexibility but requiring post-processing. JPEG provides smaller file sizes and is ready for immediate use, but with some data compression and limited editing potential.
You can also adjust image quality settings within each format, controlling compression levels and file size. Higher quality settings result in larger files with more detail. Choosing the appropriate format and quality depends on your workflow and intended use of the images. Consider RAW for critical work and JPEG for quick sharing.
RAW vs. JPEG: Choosing the Right Format

Deciding between RAW and JPEG on your Canon 5D Mark III is crucial. RAW files are unprocessed data directly from the sensor, offering extensive editing latitude for exposure, white balance, and detail recovery. They are larger in size and require dedicated software for processing.
JPEG files are compressed and processed in-camera, resulting in smaller file sizes ready for immediate use. However, this compression discards some image information, limiting editing flexibility. RAW is ideal for professional work or situations demanding maximum quality, while JPEG suits casual shooting and quick sharing.
Setting Image Quality and Size
Adjusting image quality and size on your Canon 5D Mark III directly impacts file size and detail. Within the menu, you can select various RAW and JPEG options. RAW offers choices like RAW + JPEG for simultaneous capture. JPEG settings include Large, Medium, and Small, influencing resolution.
Higher quality settings (RAW or Large JPEG) preserve more detail but consume more storage space. Consider your intended use; for printing or extensive editing, prioritize quality. For web sharing or quick viewing, smaller sizes may suffice. Experiment to find the optimal balance between quality and file size for your needs.
Using the Canon 5D Mark III’s Video Features
The Canon 5D Mark III excels in video recording, offering full HD quality. Access video settings through the menu, where you can adjust resolution (1080p is standard), frame rates (24, 30, or 60 fps), and video compression. Manual control over exposure and focus is crucial for cinematic results.
Pay close attention to audio control during recording; the camera features a microphone input for external microphones. Monitor audio levels to prevent clipping or excessive noise. Understanding these settings unlocks the 5D Mark III’s potential for professional-looking video content.
Video Recording Settings
Navigate to the video settings within the camera’s menu to configure recording parameters. Resolution options include 1080p Full HD, offering excellent detail. Frame rates of 24fps provide a cinematic look, while 30fps and 60fps are suitable for smoother motion. Choose your preferred video compression – ALL-I or IPB – balancing file size and editing flexibility.
Adjust audio input levels and select a microphone source. Enable manual audio control for precise sound recording. Remember to set the appropriate white balance for accurate color representation in your videos. Experiment with these settings to achieve your desired visual style.
Audio Control During Video Recording
The Canon 5D Mark III allows for comprehensive audio control during video capture. Access the audio settings through the camera’s menu to adjust input levels for external microphones. Monitor audio levels using the built-in headphone jack to ensure clear and consistent sound. Manual audio control is crucial for professional results, preventing clipping or excessively low volume.
Select the appropriate audio input source – internal microphone or external. Utilize attenuation to reduce loud sounds and prevent distortion. Consider using a windscreen to minimize wind noise when recording outdoors. Proper audio setup significantly enhances the overall quality of your videos.
Troubleshooting Common Issues
Encountering problems with your Canon 5D Mark III? Addressing autofocus issues often involves checking lens compatibility and AF settings. If experiencing exposure problems, verify metering mode and exposure compensation. Review the manual for detailed solutions to common errors. Firmware updates can resolve bugs and improve performance.
Consult Canon’s official support website for extensive troubleshooting resources and FAQs. Resetting the camera to factory defaults can sometimes resolve complex issues. Ensure proper battery charge and memory card functionality. Don’t hesitate to seek help from online forums or professional repair services.
Addressing Autofocus Problems
Autofocus issues on the 5D Mark III can stem from several causes. Verify lens compatibility and ensure the lens is securely mounted. Check AF Area selection modes – One-Shot for static subjects, AI Servo for moving ones. Utilize AF point expansion for improved tracking. Confirm sufficient light for accurate focusing.
Clean the autofocus sensors carefully with a blower. Recalibrate the autofocus if necessary, following the instructions in the manual. Experiment with different AF points to find the optimal setting. Consider using manual focus as a backup option. Refer to online resources for specific troubleshooting steps.
Resolving Exposure Issues
Incorrect exposure often results from improper settings or challenging lighting. Understand exposure compensation – use it to brighten or darken images. Review your metering mode; Evaluative is versatile, while Spot metering is precise. Check your aperture and shutter speed for desired depth of field and motion blur. Verify ISO settings; lower ISOs minimize noise, higher ISOs allow shooting in low light.
Histogram analysis is crucial for assessing exposure accuracy. Ensure white balance is correct to avoid color casts. Consider using bracketing to capture multiple exposures for HDR. Consult the camera’s manual for detailed explanations of each setting. Practice and experimentation are key to mastering exposure control.
Resources and Further Learning
Canon’s official support website provides drivers, firmware updates, and comprehensive documentation for the 5D Mark III. Explore recommended user guides and tutorials, like the “Canon EOS 5D Mark III Digital Field Guide” and the “Canon 5D Mark III Experience” ebook, for in-depth learning. Online forums and communities offer valuable tips and troubleshooting advice from fellow photographers.
Consider workshops or online courses to enhance your skills. YouTube channels dedicated to Canon photography offer visual demonstrations. Don’t hesitate to download the original instruction manual for a complete reference. Continuous learning is essential for maximizing your camera’s potential and improving your photography.
Canon’s Official Support Website
Canon’s official support website is the primary hub for all 5D Mark III related resources. Here, you can download the latest drivers to ensure optimal compatibility with your computer. Firmware updates are crucial for bug fixes and performance enhancements, directly impacting camera functionality. Access digital manuals, including the comprehensive user guide, for detailed explanations of every feature.
Explore the FAQ section for answers to common questions and troubleshooting tips. Utilize the online technical support for personalized assistance with specific issues; Register your camera to receive important product notifications and exclusive offers. Canon provides a wealth of information to help you fully utilize your 5D Mark III.
Recommended User Guides and Tutorials
For enhanced learning, consider supplemental resources alongside the official manual. “Canon EOS 5D Mark III Digital Field Guide” by Charlotte K. Lowrie provides practical, real-world shooting advice and techniques. “Canon 5D Mark III Experience” is a highly-rated ebook offering in-depth tutorials and a user-friendly approach to mastering the camera’s capabilities.
Printed instruction manuals, like the A5 fully printed guide available on eBay, offer a tangible reference. Online tutorials on platforms like YouTube demonstrate specific features and workflows. These resources complement the original instruction manual, accelerating your understanding and unlocking the full potential of your 5D Mark III.
Downloading Drivers and Firmware Updates
Maintaining optimal performance requires regularly updating your Canon EOS 5D Mark III with the latest firmware and drivers. Canon’s official support website (Canon Central and North Africa) is the primary source for these essential files. These updates often include bug fixes, improved compatibility, and new features, enhancing the camera’s functionality and stability.
Navigate to the support section of the Canon website, select your specific model (EOS 5D Mark III), and download the appropriate drivers and firmware for your operating system. Follow Canon’s detailed instructions carefully during the update process to avoid any potential issues. Regular updates ensure a smooth and reliable shooting experience.